

User Guide
Integrations
DemoAir deeply integrations with today's most popular and trusted tools like GitHub, Jira, Slack, Asana and Trello. In this guide, we will go through how you can share your video on these platforms. Check out our roster of integrations and get inspired with more ways to apply DemoAir for work. In this guide, you will know:
- How to share your recordings to GitHub
- How to share your recordings to Jira
- How to share your recordings to Slack
- How to share your recordings to Trello
- How to share your recordings to Asana
How to share your recordings to GitHub?
Users can create a video to report a code change or a bug. Drag it to the GitHub comment box. Explain a code change or answer your coworker in seconds. Using visuals makes communication faster and clearer.
Step1: Connect DemoAir with your GitHub account.
Click "Connect with GitHub"

Step2: Then give DemoAir access to your GitHub. Click "Authorized DemoAir"

Step3: Select and write "Repository", "issue title" "Description" "Assignee" and "Label" to create an issue.

Step4: After all is settled, click "Create issue". Then the GitHub issue has been created.

How to share your recordings to Jira?
You can use video to communicate effectively, manage projects, and deploy code faster in Jira. Manage your project and communicate effectively, assign card to members using Jira and DemoAir.
Step1: Connect DemoAir with your Jira account.
Click Connect with Jira
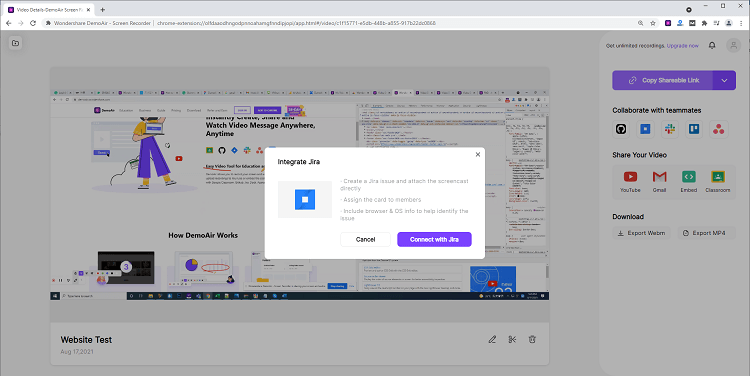
Step2: Log in to your Account
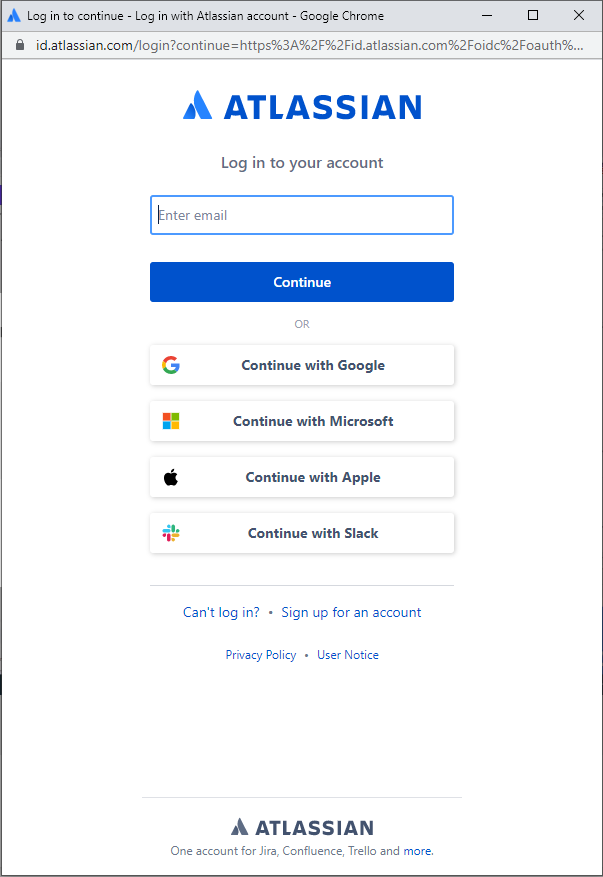
Create your account or log in if you already have an Atlassian account.

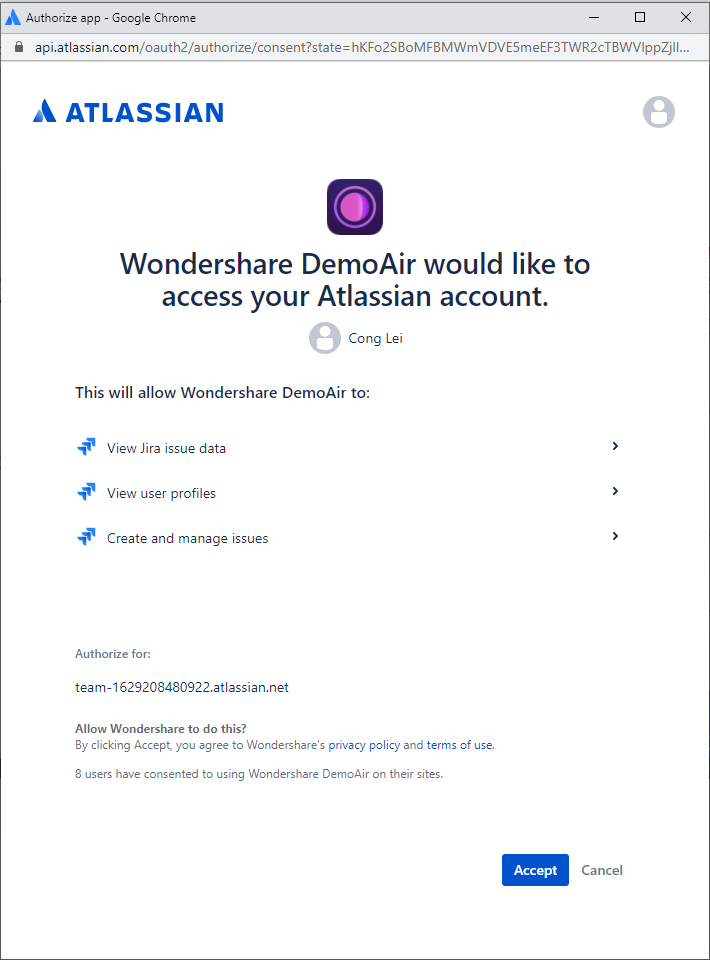
Step3: Give DemoAir access to your Atlassian account.
Step4: Select and write "Project", "Issue type" "Summary" "Assignee" and "Development" "Rank" "Flagged Description" "Linked issues" "Labels" "Reporter" to create an issue.
Step5: After all is settled, click "Create issue". Then the GitHub issue has been created.
How to share your recordings to Slack?
Slack is a messaging app for businesses that connects people to the information that they need. By bringing people together to work as one unified team, Slack transforms the way that organizations communicate. Now you can share your video messages directly from DemoAir, giving your team a more intuitive understanding of your content.
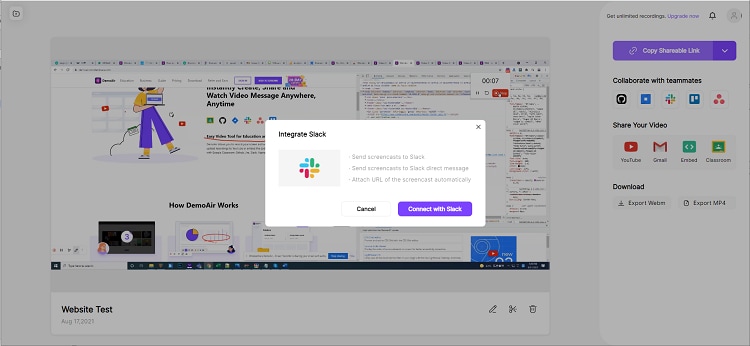
Step1: Connect DemoAir with your Slack account.
Click "Connect with Slack"
Step2: Enter your workplace’s Slack URL to log in to your workplace
Step3: Give DemoAir permission to access your Slack workspace.

Step4: Then you have connected with DemoAir. You can select your channel and write the message content then send your video message.
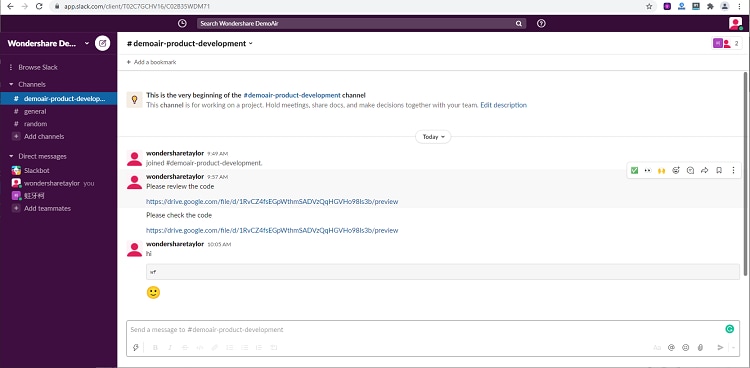
Step5: Then the Slack message has been sent.

You can Click back to your Slack account to check.
How to share your recordings to Trello
Asana is a workplace management dashboard that helps streamline communication across companies and teams, allows users to break down projects into tasks, and sets clear goals for teams.
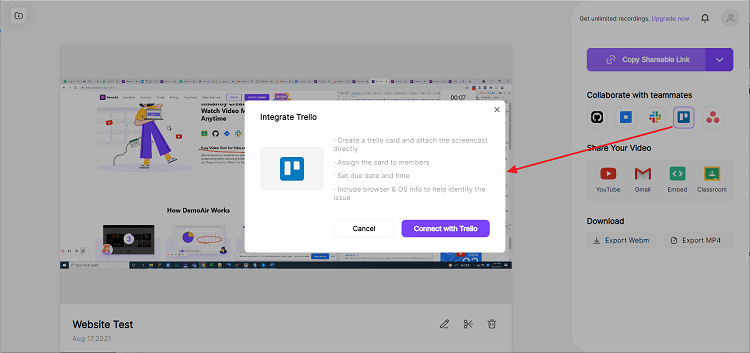
Step1: Connect DemoAir with your Trello account.
Click "Connect with Trello"
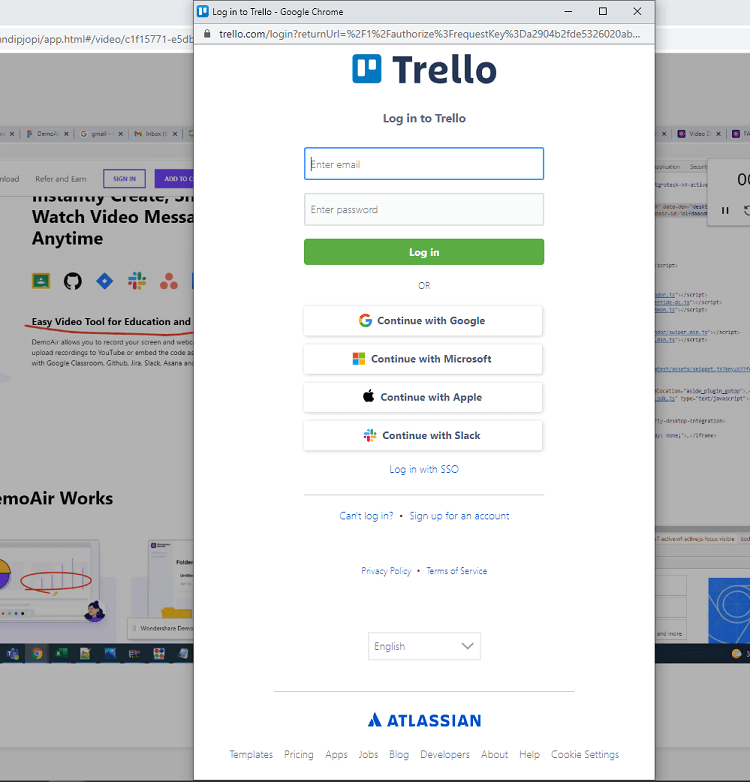
Step2: Give DemoAir access to your account.

Step3: Give DemoAir access to your account.
Then Log in to Trello
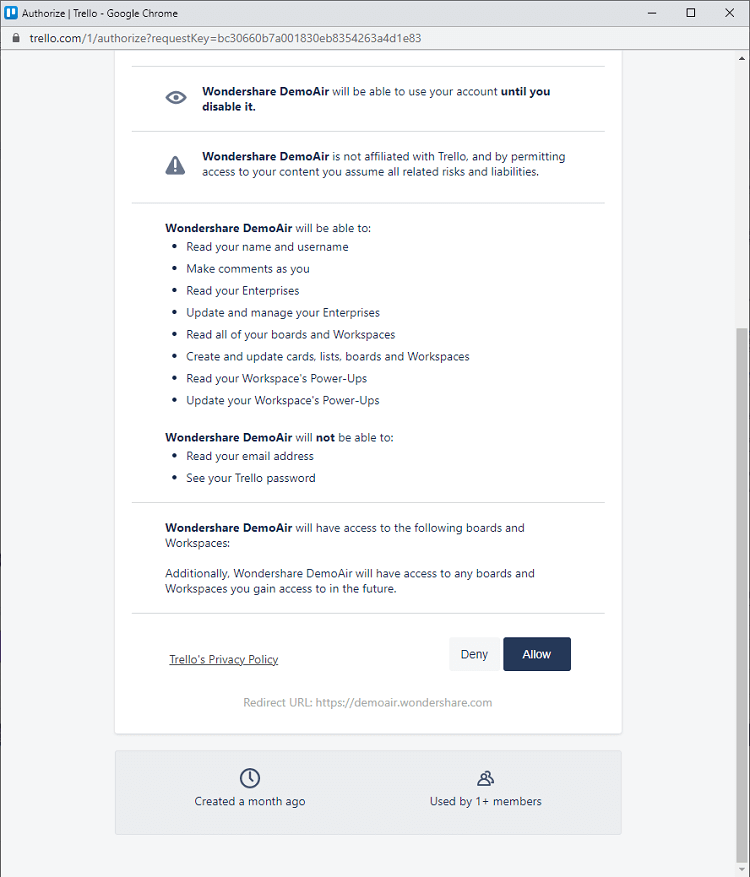
Step4: Click "Allow" to give DemoAir access to your following boards and workplaces.
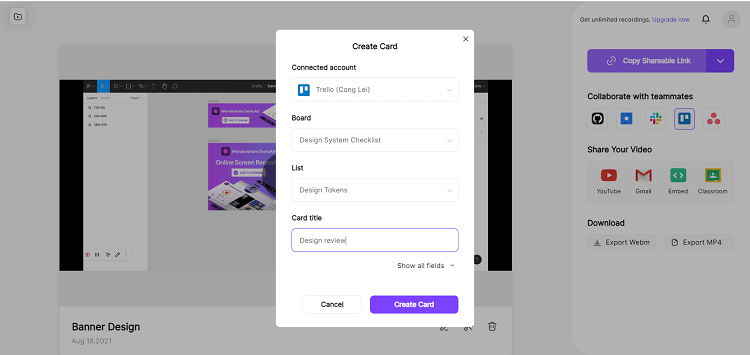
Step5: Select or write "Board" "List" "Card title" and other information to create a card.
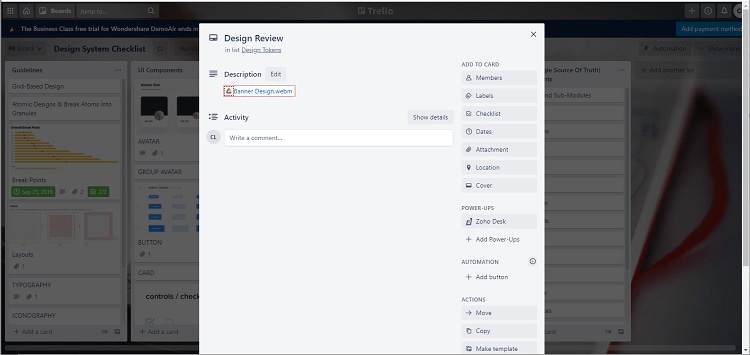
Step6: Then the Trello issue has been created.
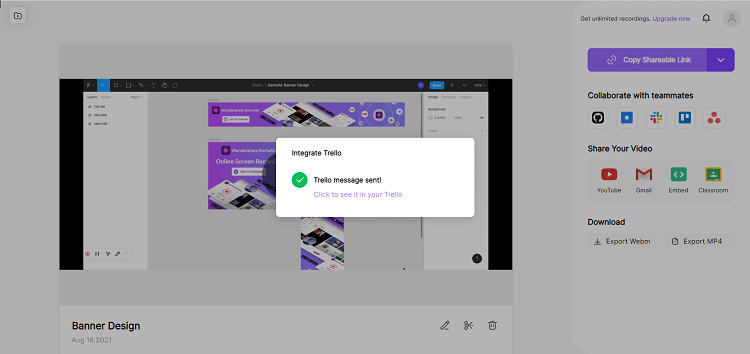
You can click to see the Trello message, then you will enter your Trello dashboard.
How to share your recordings to Asana?
Asana is a workplace management dashboard that helps streamline communication across companies and teams, allows users to break down projects into tasks, and sets clear goals for teams.
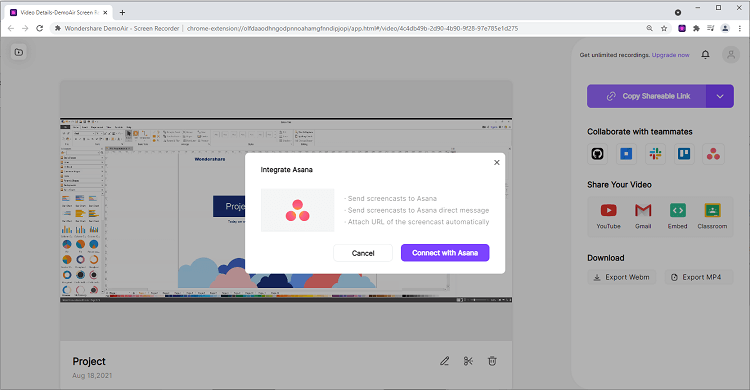
Step1: Connect DemoAir with your Asana account.
Click "Connect with Asana"
Step2: Then log in to your Asana account.
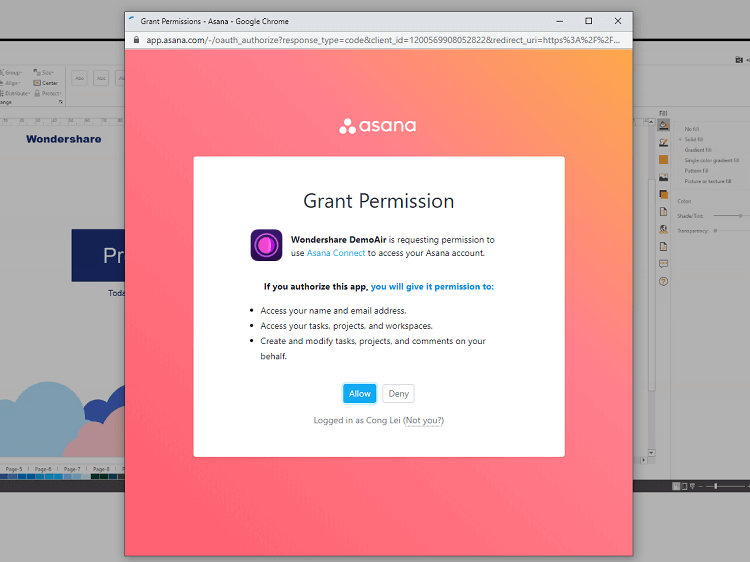
Step3: Grant Permission to DemoAir.
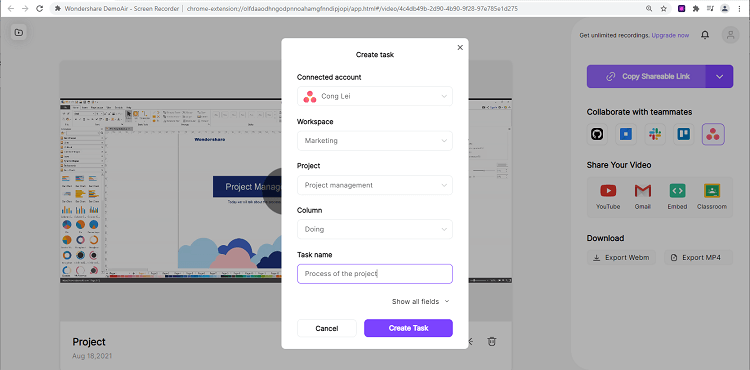
Step4: Then you can enter your "Workplace", "Project", "Column", and "Task name" to create your task. Click the ""Create Task""button.
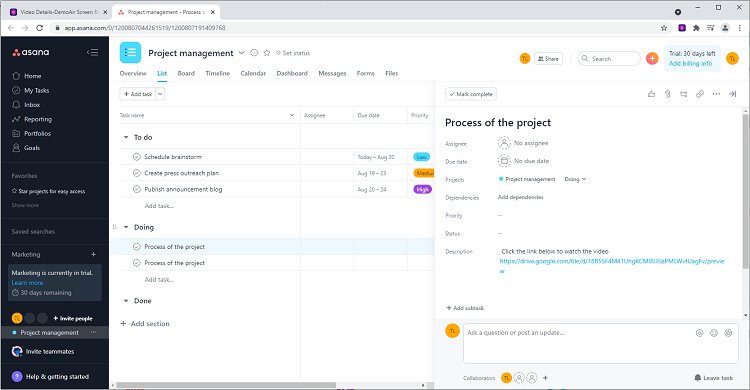
Step5: Then your Asana message has been sent. You can click to check it.
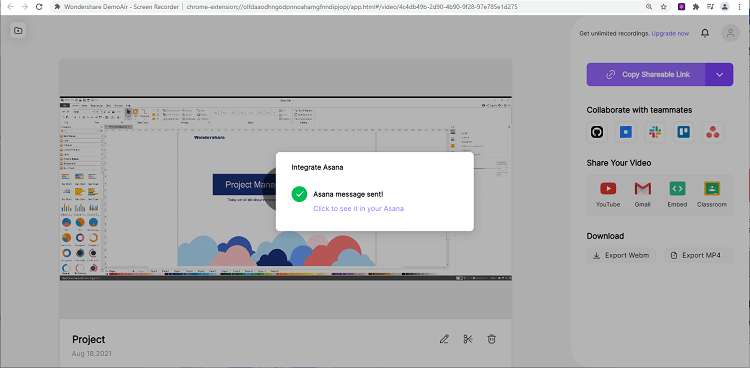
You will find the details on the right side of the Asana interface.