

User Guide
- Install & Uninstall DemoAir
- Navigating the DemoAir
- Regist DemoAir
Navigating the DemoAir
The DemoAir extension is very simple to navigate. There are four places within the extension that you'll become familiar with:
- Recording Control Panel
- Video Detail Page
- My Videos
The Recording Control Panel
The Recording Control Panel is the first thing that pops up whenever you open the DemoAir extension. From the Control Panel, you can choose Desktop, Browser Tab and Webcam Only. You can also set Microphone, Webcam, System Audio and Drawing Tools from this Panel.
- Desktop: Records your entire screen or specific application
- Current Tab: Capture only the current browser tab
- Webcam Only: Records only your camera

Video Detail Page
The Video Detail Page automatically loads after you end a recording. From the Video Page, you can:
- Playback the recording
- Rename your recording (by clicking on the title of the recording)
- Trim your recording
- Save and share your recording
- Download your recording
- Delete your recording
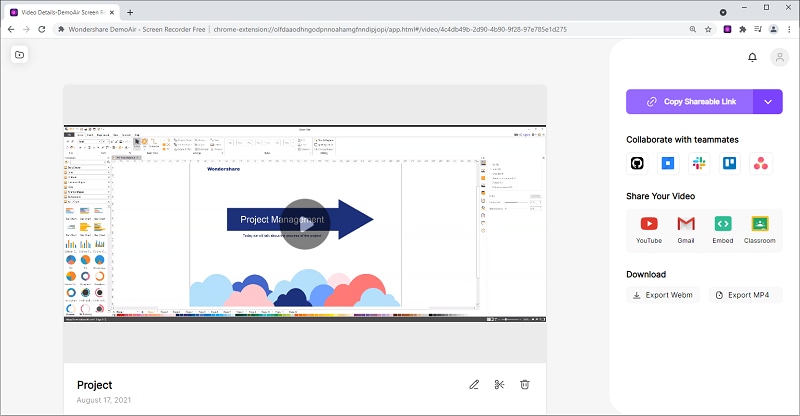
The video sharing feature will be available when you have logged in to your Google Drive account.
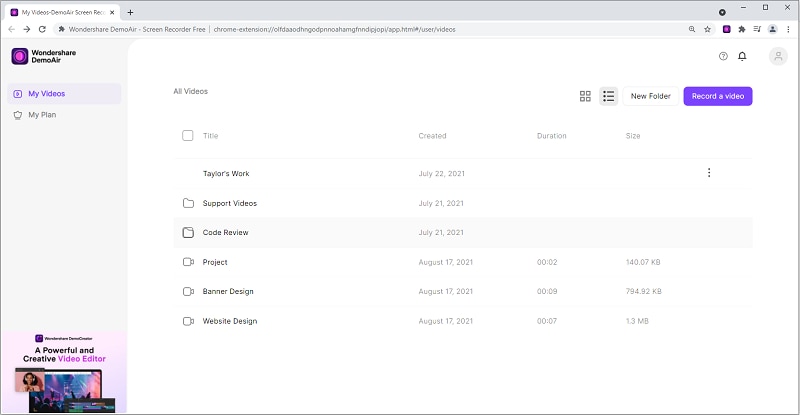
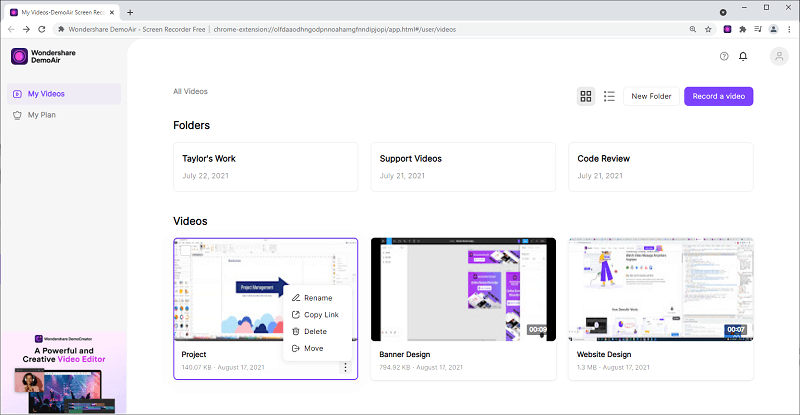
My Videos
My Videos is a library where you can view all of your videos recorded with DemoAir. To access My Videos, click the icon  in the top right-hand corner of the Recording Control Panel, then choose "My Videos" in the Main Menu.
From My Recordings, you can:
- View the Video Page for each of your recordings
- Rename your recording
- Copy the shareable link
- Delete your recordings (individually or choose multiple)
- Move to your folder
Please note that the video will also be removed from account and Google Drive if you delete the video from the list.
There are 2 ways to display the playlist, you can choose Grid View or List View.