Wondershare DemoAir
DemoAir is an easy-to-use screen recorder to capture your screen and webcam to create a video message for better communication.
Screen recording implies recording your mobile or computer screen contents as it is happening and saving it to watch later. It has multiple uses; you can keep an eye on your employees’ activities, record important business video calls, communicate a fault more effectively for troubleshooting, save essential things for future reference, make personalized videos, presentations, etc. and probably the most important and popular one is to record tutorial videos.
Why record tutorial videos?
Tutorial video recording is one of the reasons screen recording became so widespread. These tutorials explain the nature of a problem or issue and how to solve it in an easy-to-follow and step-by-step manner. You can watch them again and again until you resolve your issue. Similarly, tutorial videos are also beneficial in highlighting the features of a product. In the current times, online classes have become the norm. If you are recording the live lessons of your teacher, you can watch them again and share them with your friends. You can brief your customer about anything, provide him feedback, explain any particular thing, or make a presentation about it. You can embellish the screen recording with voice commentary, emojis, and text, to better illustrate your point of view. You can download screen recording apps, and you can also do it online.
5 Online Screen Recorders to record tutorial videos
Let us share with you five of the best online screen recorders and five screen recording software. We will start with online screen recorders.
1. DemoAir:
Features:
-
It is a cloud-based online screen recording chrome extension.
-
You can add voice commentary and webcam footage to the screen recording.
-
An annotation bar, different screen drawing tools, and cursor highlighting options are also available.
-
You can easily share the screen recording via a link generated by it automatically.
-
It even lets you convert the screen recording into a friendlier MP4 format before exporting.
How to use DemoAir:
It works as a Chrome extension. You download it from the net and use it as an attachment to chrome. The instructions are easy-to-follow and you can learn as you go.
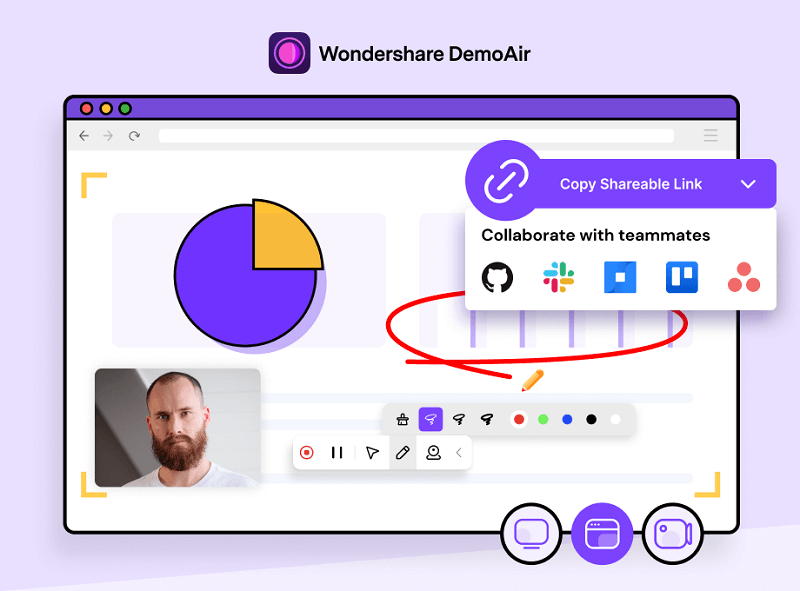
Wondershare DemoAir
DemoAir is an online screen recorder to record your desktop, browser tab or webcam only and share video directly to different platforms.

2. Loom:
Features:
-
It is another cloud-based screen recording plug-in for chrome.
-
It is free; there are paid versions available too.
-
It can let you record for 10 minutes straight.
-
You can use it individually and in teams.
-
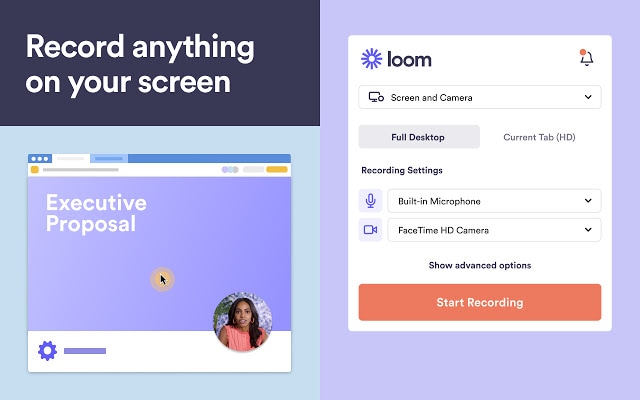
Notable features include generating an automatic link on your clipboard that you can use to share the recording.
-
You can easily edit your video and add text and voiceover in it to enhance its effectiveness etc.
How to use Loom:
You will have to make an account to start using it. The screen recording is simple. You choose what you want to record, select camera and adjust audio setting, and then click on start recording.
3. ScreenApp. IO:
Features:
-
It is an online screen recording facility that works as a chrome extension and is free as far as its basic plan are concerned.
-
You can record up to 15 minutes of screen recording and even more if you opt for the paid versions.
-
You can easily trim, edit, and share the recording through it.
How to use ScreenApp. IO:
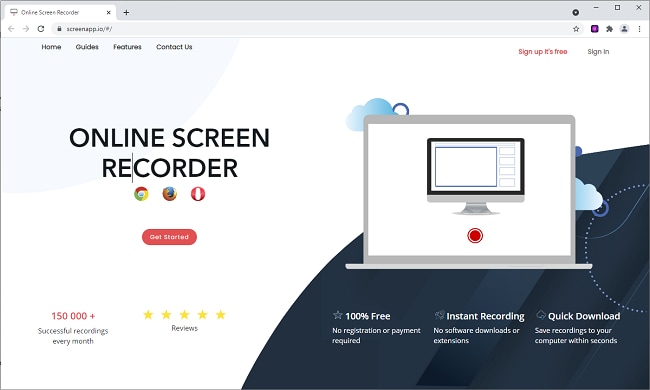
Visit the homepage of ScnreeApp.IO and click on Get Started button. To begin recording, three options would appear before you asking you to confirm the screen setting like you want to record full screen, a part of it, or a browser tab. Make your selection and click on Start Recording. To stop it click on Stop Recording. You can trim or crop its length and now it is ready for download.
4. Panopto:
Features:
-
It is used in e-learning platforms extensively for lessons recording, video streaming, and as a video content management application.
-
You may use it for screen recording, live streaming interchangeably.
-
It is loaded with many other helpful features; for example, a student can text search a word from the entire screen recording.
-
You can also easily switch between slides and recording modes.
How to use Panopto:
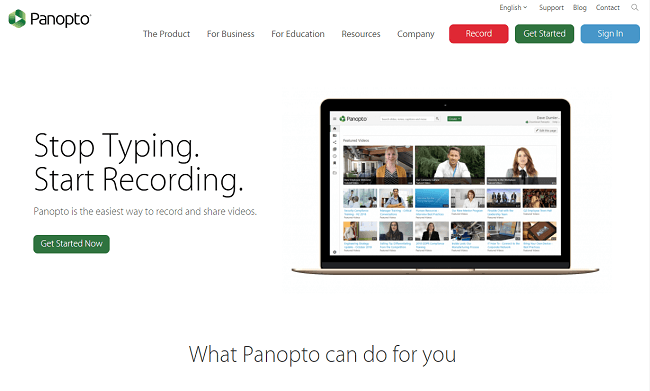
Go to Panopto’s homepage and select the screen you want to record. Now pick and test the audio, add webcam if you need it, and click on Record button. Once done, you can download the video to your system or share it to wherever you like.
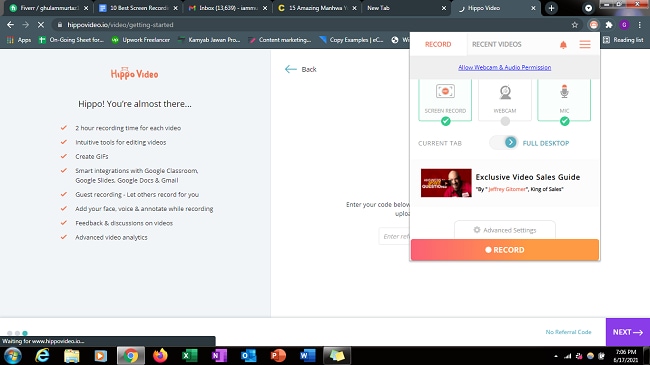
5. Hippo video:
Features:
-
Hippo video works as a chrome extension.
-
It is super easy to use and integrates well with almost all the other applications.
-
With only a few clicks, you can create videos and edit them and add special effects and annotations.
-
You can opt for the pro-edit tool for advanced options like adding music, background, introduction, narration track, end credits, etc.
-
It also allows users to set passwords and sharing to other apps.
How to use Hippo video:
For screen recording you will have to download and use it as a chrome extension. For webcam and audio recording you can use the online tool. Either way, the instructions are easy-to-follow. After recording the video is ready for editing and sharing instantly.
5 screen recording sofware to record tutorial videos
We will now shift our attention to screen recording software and present five of the best software in this category.
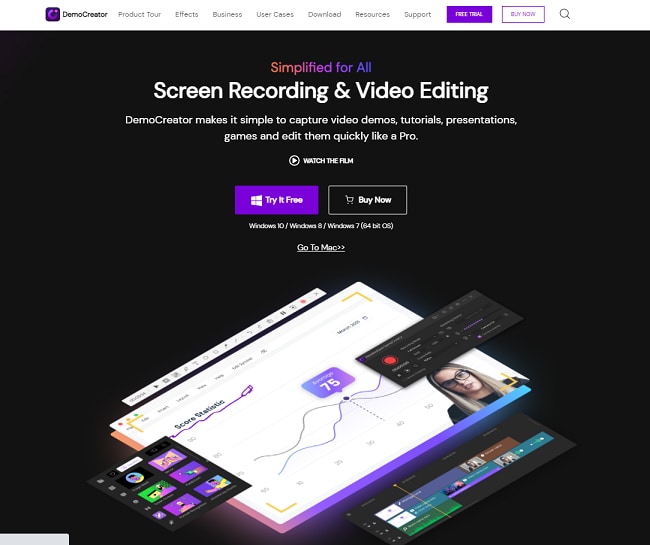
1. Wondershare DemoCreator:
Features:
-
It is free, but the free version will have its brand name watermarked on all the video recordings.
-
Some of its features include; real-time screen drawing using different provided tools, webcam capture, sound capture via a microphone, audio fading in and out, captions, annotations, green-screen effects, etc.
-
It is straightforward to use.
-
It is compatible with both Windows and Mac operating systems.
-
Sharing is also like a piece of cake here; it also allows fast sharing to export the screen recording without any editing instantly.
How to use Wondershare DemoCreator:
You can use it to record screen, game, and for video editing purposes. In the menu click on New Recording and simultaneously record screen, webcam, and audio. By pressing the red button, the recording will start, alternatively you can use the F10 hotkey for this purpose too. You can customize the size of the screen that you want to record by exploring the options given in Recording area. There are screen drawing tools that you must select to use or press Shift+Ctrl+D.
2. OBS Studio:
Features:
-
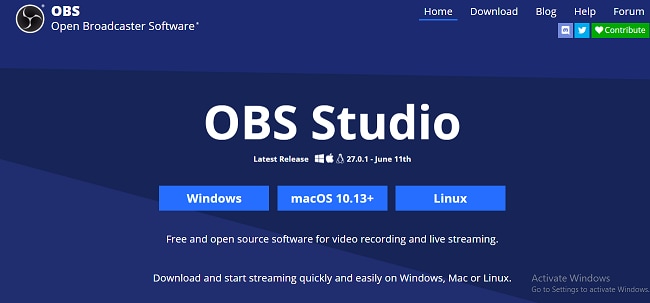
It is an open-source software used for video streaming, recording, editing, etc., purposes.
-
Some of its standard features include; an intuitive audio mixer, capacity to improve picture quality, personalization options, setting up of hotkeys, streamlined interface, real-time capturing of audio and video, option to set up unlimited no of scenes, seamless integration with other programs, applications, and software.
-
There are other options, but, they are more suitable for gaming pros.
How to use OBS Studio:
Using OBS is pretty simple. There are Start Recording and Stop Recording buttons who do the obvious things. Before recording you will need to set up your OBS. The first time you launch OBS, it will ask you to set up OBS automatically or manually. Choose either of the two options to start using OBS.
3. Camtasia:
Features:
-
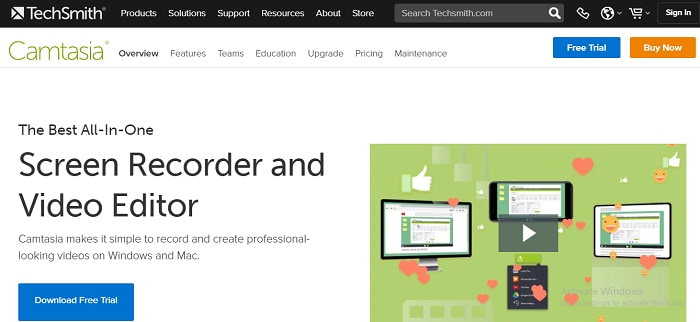
It is a simple-to-use screen recording and editing software that is perfect for beginners.
-
It is not free, but you can avail of its 30-day free trial program and then opt for the full-fledged purchase.
-
During the trial period, all the screen recordings will have a watermark of their name on them.
-
It offers vibrant screen capturing features to blow your mind.
-
There are pre-built templates that you can use to save editing time.
-
You can add captions, annotations, animations, themes, etc., to enhance its effectiveness.
-
It also has interactive features that you can add to your video and make it more user-friendly.
How to use Camtasia:
Launch Camtasia and click the option of “Record the Screen”. You will then need to define the area of your screen that you want to record, whether you want to record the entire screen or part of it. Camtasia will automatically detect the webcam attached to your system and start recording its footage too. Turn off this option if you do not want that. Then select the audio input and hit the record button to start recording.
4. Screencast-O-Matic:
Features:
-
It is a screen recording software that is free for the most part. A paid version is also available that gives you more options and features.
-
It is compatible with all the popular operating systems.
-
The free version will get you 15 minutes of screen recording that will be watermarked.
-
The paid version allows you to record for an unlimited number of hours, and there will be no watermark.
-
The video recorder has the facility to screen record as well as record from your webcam simultaneously.
-
There are a host of editing tools that are even more pronounced in the paid version.
-
It is pretty straightforward in its layout and easy to use.
How to use Screencast-O-Matic?
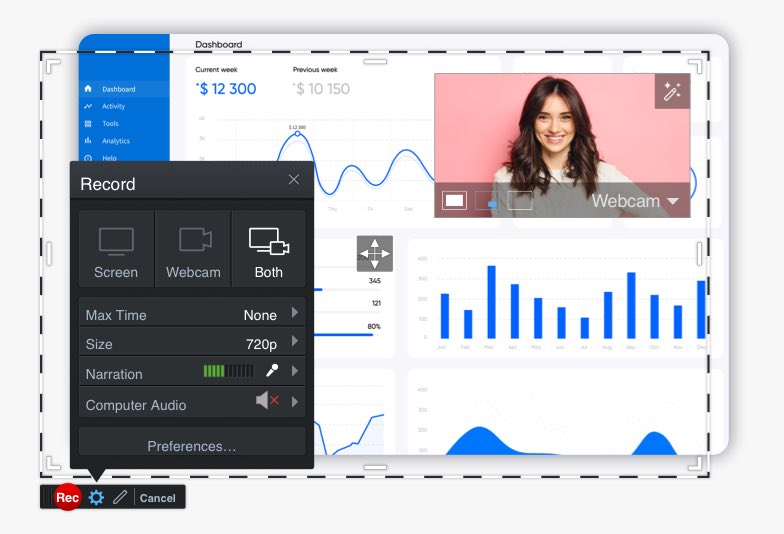
After you launch it, click on the tab “Start recording for free” In the next window you will click on “Launch Free Recorder”. If you want to avail more services, you can click on the “upgrade recorder” option right beside it. You can add your webcam or voice commentary or both to the recording. You also have the option to record the entire screen or part of it.
5. Apowersoft:
Features:
-
It is available for download as an application, and you can also use it as an online tool.
-
It will work all right on both Windows and macOS platforms.
-
You can record anything on-screen and for as long as you like.
-
You also have the option to record the entire screen or any part of it.
-
You can also add footage from your webcam in your video, making it a great tutorial video creator.
-
You can also add annotations to your video while recording it, and you can easily share the video over other apps like YouTube.
How to use Apowersoft:
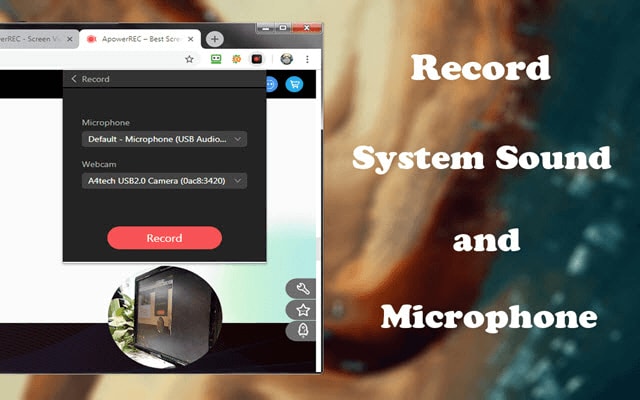
It is available on both web and desktop versions. Go to its official website and download the launcher to start recording. You will have to adjust certain video and audio settings to improve the quality of your recording. The interface is intuitive and easy to understand. Once all the settings are ok, hit the “REC” button to start recording. You can add narration in your voice, or your webcam, if you so desire.
Conclusion:
So, that was our pick when it comes to the top five online screen recorders and top give screen recording software. We have presented the list in a random order without any ranking. We hope you will find it informative and inspiring. Screen recording is a handy tool, one that has multiple uses and benefits. Its usage is set to grow, with further refinements expected in screen recording and capturing applications over time.
