Wondershare DemoAir
DemoAir is an easy-to-use screen recorder to capture your screen and webcam to create a video message for better communication.
There are many reasons why a person may choose to record screen with webcam. It is an ideal method to make a tutorial or a troubleshooting video about any hardware or software error. You can also use this feature for an unboxing video about any gadget or device or a product review video. As you explore its elements, you may add your commentary, narrating its features. Reaction videos have also become very popular these days, and to make one, you will have to get a screen and webcam recorder.
Similarly, gaming videos are a rage among today's youth, and you would need to record the screen and webcam together for it. Video podcasting is another use of a screen and webcam recorder. These are some of the reasons because of which people record their screens with a webcam.
There are a variety of options for both PC and smartphone users to record screens and webcam together. We will divide it into three broad categories as follows;
-
Using default recording tools
-
Using an online screen recorder
-
Using screen recording software
How to Record Screen and Webcam with Default Recording Tools
We shall divide this category for both Mac and Windows users. Let's take a look at the default screen and webcam recording tools for Mac users.
QuickTime player:
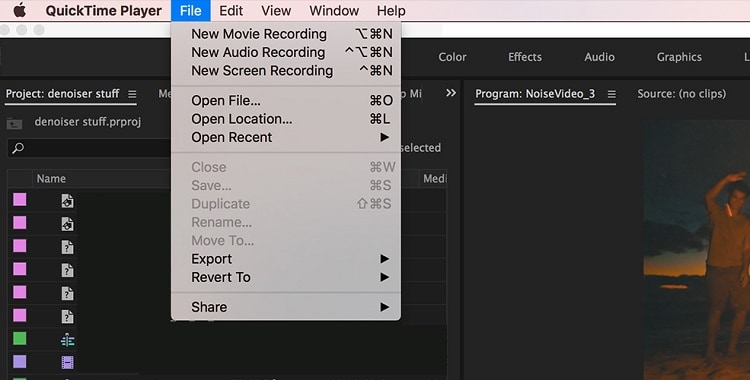
It is a popular tool for playing audio and video files. But you can also use it to record screen and webcam together. Here's how you will do it.
-
Open QuickTime player, and from the File menu, select New Movie Recording.
-
Now select View from the menu bar and the dropdown menu, select Float on Top. By choosing this option, the camera window would stay on top of all the other windows.
-
You can now adjust the size of the window to your liking and place it wherever you want on the screen.
-
Go back to the File menu, and now select New Screen Recording from the menu.
-
A new window will appear, prompting you to start recording. You can begin to record the whole screen by clicking anywhere on the window or drag to select the rectangular square to begin recording.
Xbox game bar:
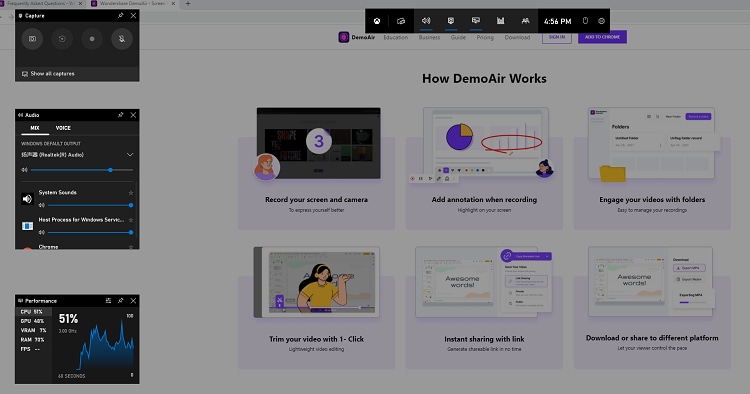
This feature is available for Windows 10 and all its later versions. It is an in-built screen recording feature that is pretty handy despite its limited usability. It does work on other apps, but you cannot record the entire screen with it. You can use it for one window at a time. It was designed for people who would like to record their gaming experiences on Xbox and share it on YouTube or their social media accounts. The recording time is for 2 hours straight, which is pretty decent for any screen recording app. Here is a step-by-step guide of how you can use the Xbox game bar for screen recording.
-
First of all, open the Xbox app.
-
After opening it, use the Windows logo key plus G (Win+G) to open the game bar. A new window will pop up if you are accessing the game bar for the first time. It will confirm from you if you want to open the game bar; click on "Yes, this is a game," even if it isn't. It will work anyway.
-
To start recording, hit the round red button visible on the game bar. It will start the screen recording. But it will record just the app window and not the entire screen.
-
To stop recording, open the game bar again using the Win+G hotkeys and hit the stop button. The recording will stop.
-
The recorded clip gets stored in the Xbox app by default. You can access it by opening the Xbox app window. A few editing options are available, like trimming its length or renaming it.
How to Record Screen and Webcam with an Online Screen Recorder?
Several online resources can help you record screen and webcam together. The main advantage of such resources is that you do not need to download them. Just go to their website, follow the instructions and start recording. It is a cost-saving, convenient, and straightforward method to record screen with webcam. We have chosen Wondershare DemoAir for this purpose. Besides recording, it also offers some basic editing features to make your video content more impactful. Here's how you will use it.
-
Go to Google Chrome extension and search for Wondershare DemoAir and download it.
-
After installing, select recording mode: Desktop, Current Tab or Webcam recording.
-
Now it requires you to confirm audio and webcam settings.
-
Once you are done with your recording, hit the stop button. You can now trim your video and download it to your system in MP4 or Webm format. You can also share to different platform.
Wondershare DemoAir
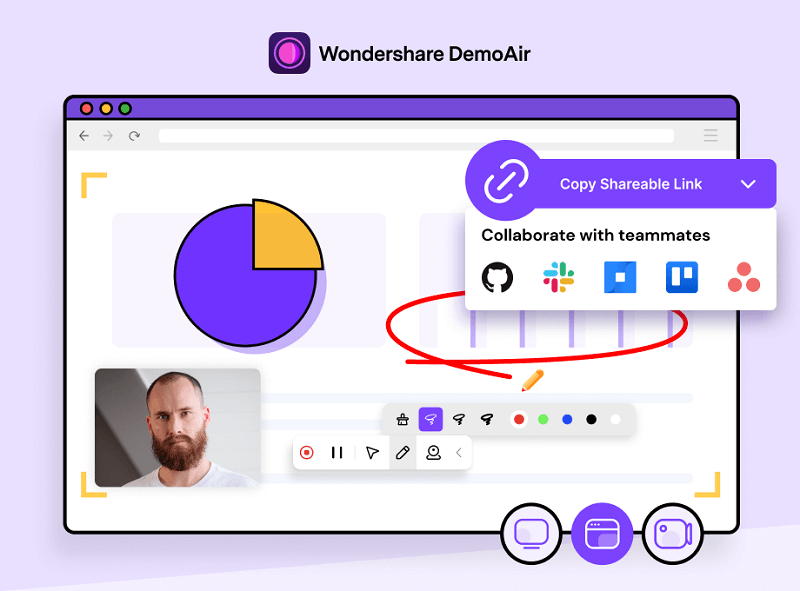
DemoAir is an online screen recorder to record your desktop, browser tab or webcam only and share video directly to different platforms.
How to use screen recording software to record screen and webcam at the same time?
There is software available for this purpose. Some are free, while some require membership fees from you. Also, some are free up to a certain period, and then after the period's expiry, you buy its services.
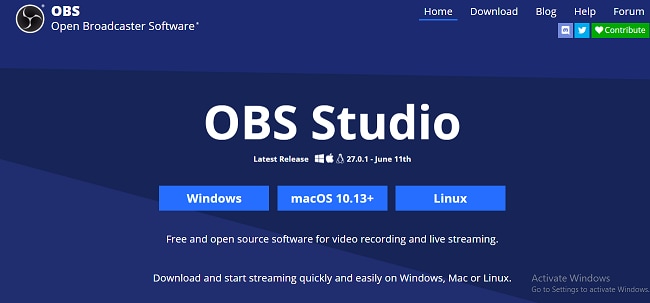
OBS Studio:
This software is available for free to download for free from the maker's official website. It can be your webcam recorder as well as a screen recording software. You can use it either way. It will ask you what you would like to do before you start to record. It also gives you the option of optimizing your resolution, frames per second, and other screen settings. You can place your webcam anywhere on the screen that you will be recording and also resize it. The audio capturing technology is sophisticated, and you do not need to add a separate microphone. Default by the program saves the entire recording. You will have no issues using this screen recording software, and it does its job reasonably well.
How to record screen and webcam using OBS?
The entire process is straightforward. Here's what you need to do.
-
Add audio sources by going into Controls> Settings> Audio. Disable all the options there and set Desktop audio and Mic input to default settings.
-
You can also add filters to your voice input by exploring the Mic/Aux-in Audio mixer. Choose among Noise suppression, Noise Gate, and Gain.
-
Now, adjust the quality of your recording by clicking on the Recording rate in the Output tab.
-
You can pick among high quality, indistinguishable quality, etc.
-
Right beneath the Recording quality, there is the option of the Recording format. Choose according to your preference and hardware configuration.
-
To add a webcam, go to Video Capture Device provided in the Sources menu.
-
Select your webcam, customize its setting, and you are good to go with recording both screen and webcam together.
Conclusion:
These were some of the screen and webcam recording methods out there in the market. These are some of the most popular, accessible, and practical approaches for this purpose. We hope you will find this article to be informative and helpful.
